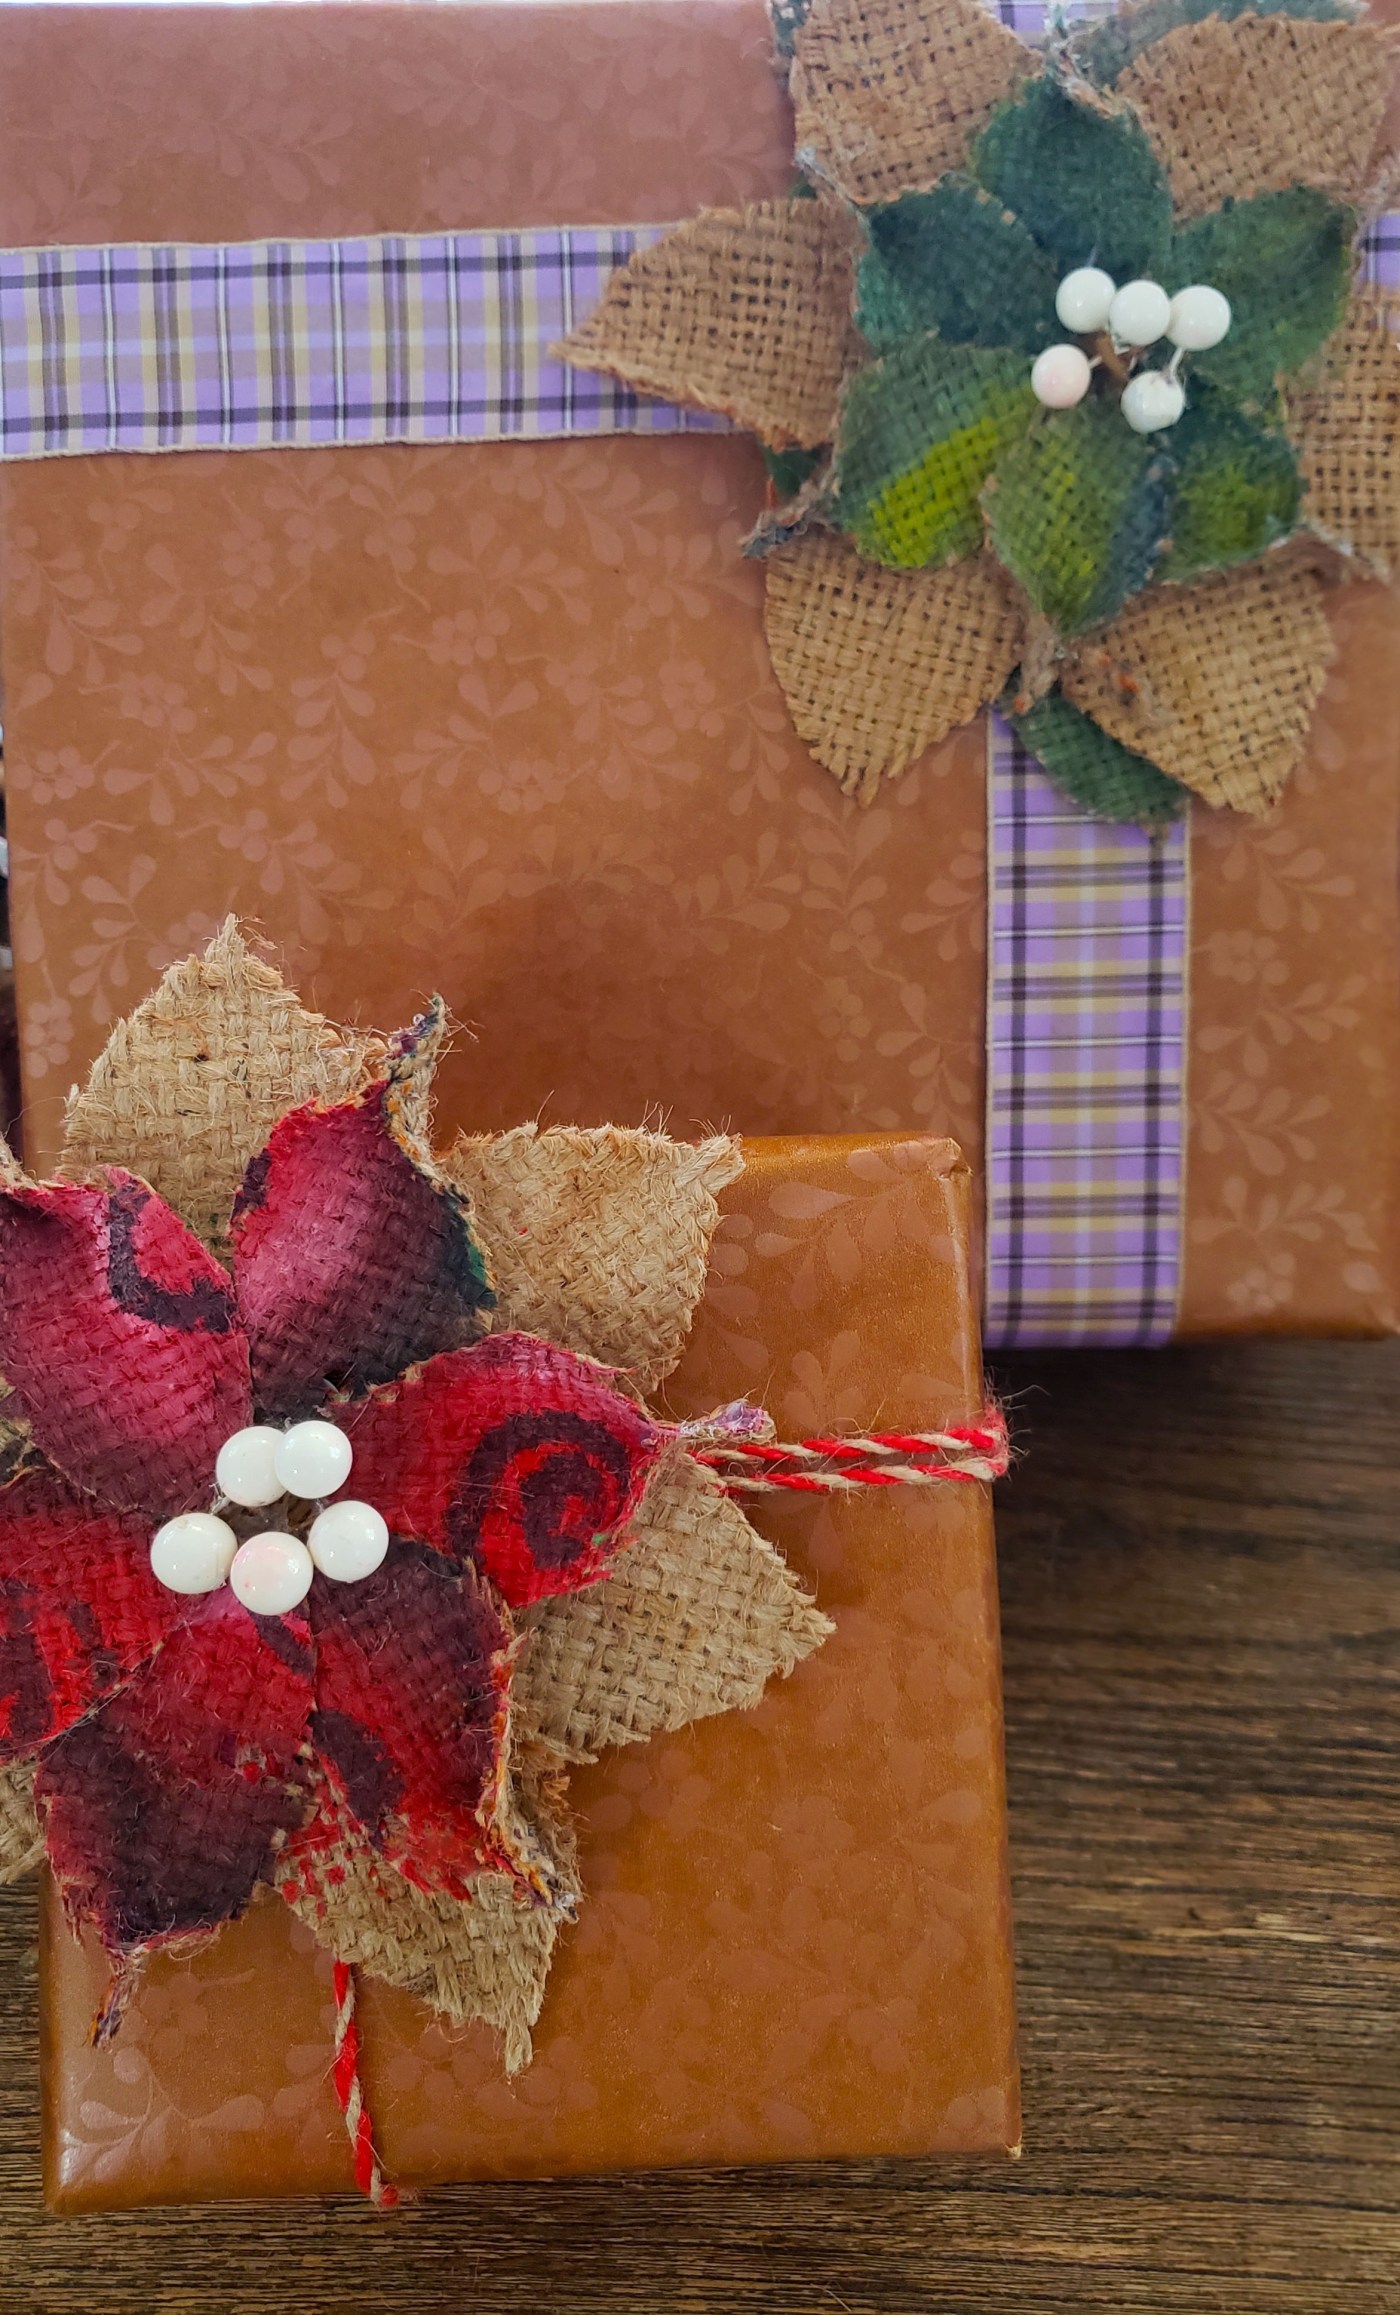
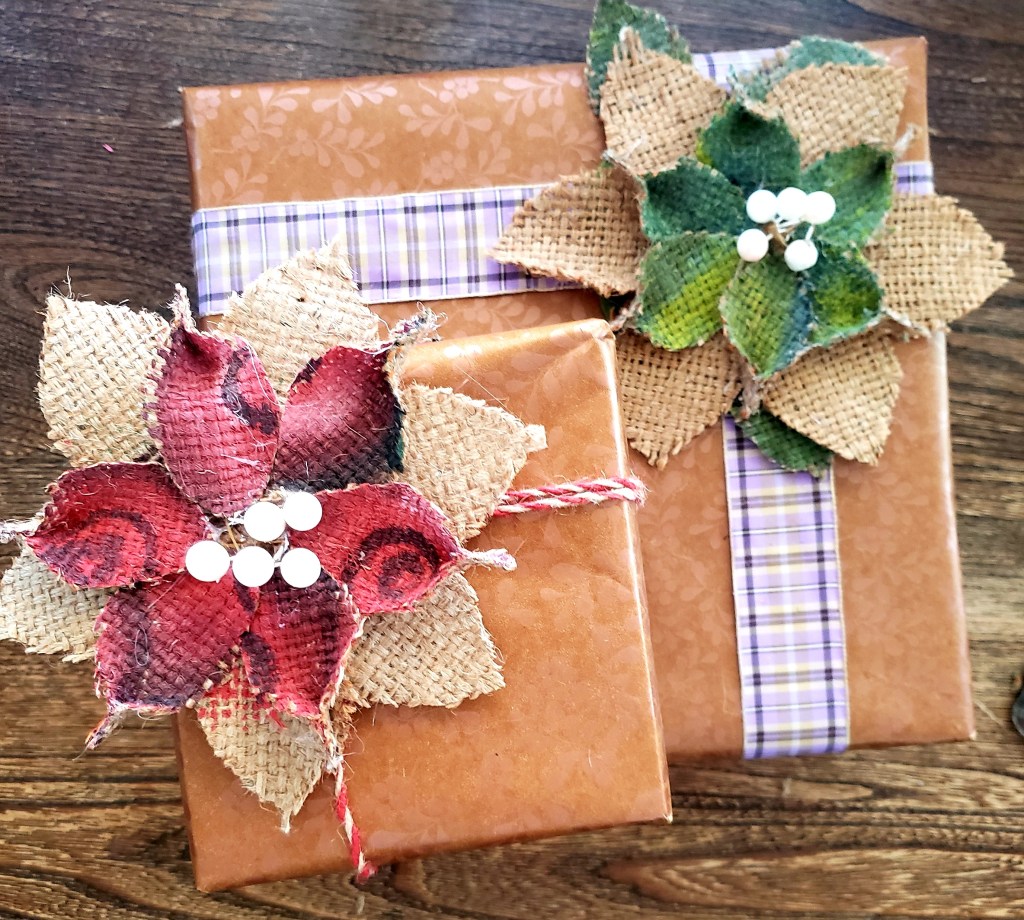
In this entry, we up-cycle Queen Bean coffee burlap into beautiful flowers. Throw in a little glue, paint, and crafting materials to add your own unique signature to these easy-to-follow instructions. The finished products may be used as gift decorations, ornaments on a wreath, or even a lovely broach.
Make your own burlap daisy
This flower was designed to be used for gift wrapping decoration. You can adjust the measurements up (if creating a wreath for example) or down (if turning your flower into a broach).
What you will need
- Burlap
- 4 inch felt square
- Hot glue gun
- Fabric paint/fabric markers, or ornamental beads for decoration.
Instructions
1.) Cut a circle with a 4-inch diameter from a piece of felt. (**Pro tip: fold a 4-inch square piece of felt in half, then in half again. Cut an arc around the edge. This will create an approximately even circle with the correct diameter.)
2.) Create 2 petal stencils (3-inch & 2-inch) from strong post paper.
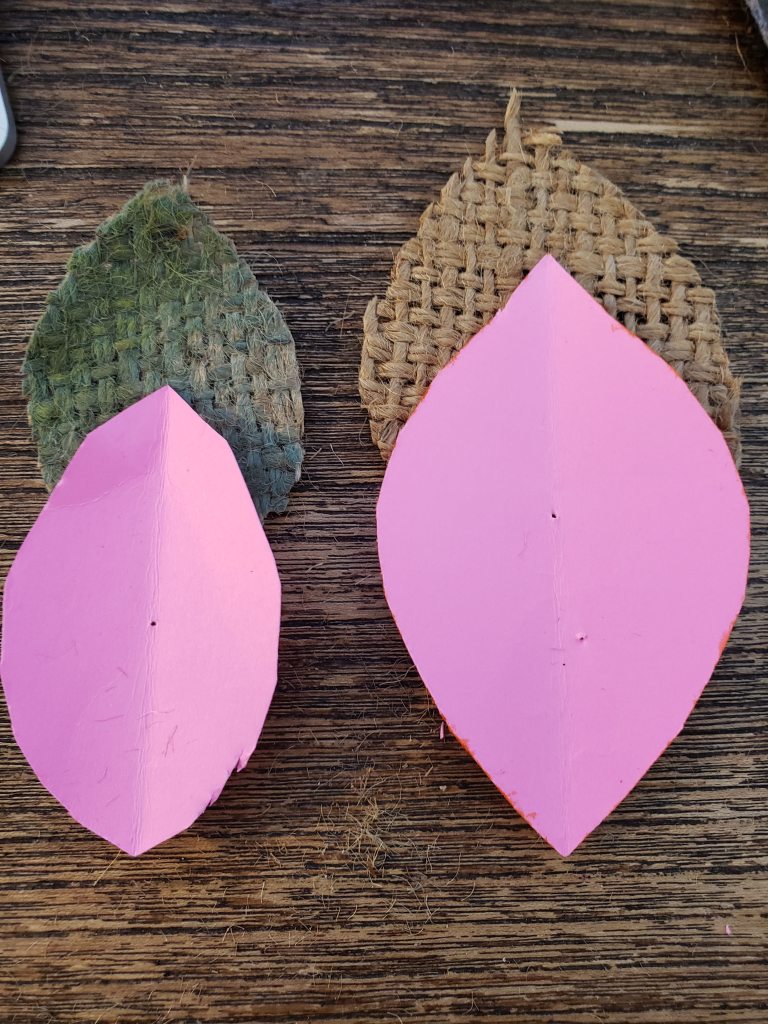
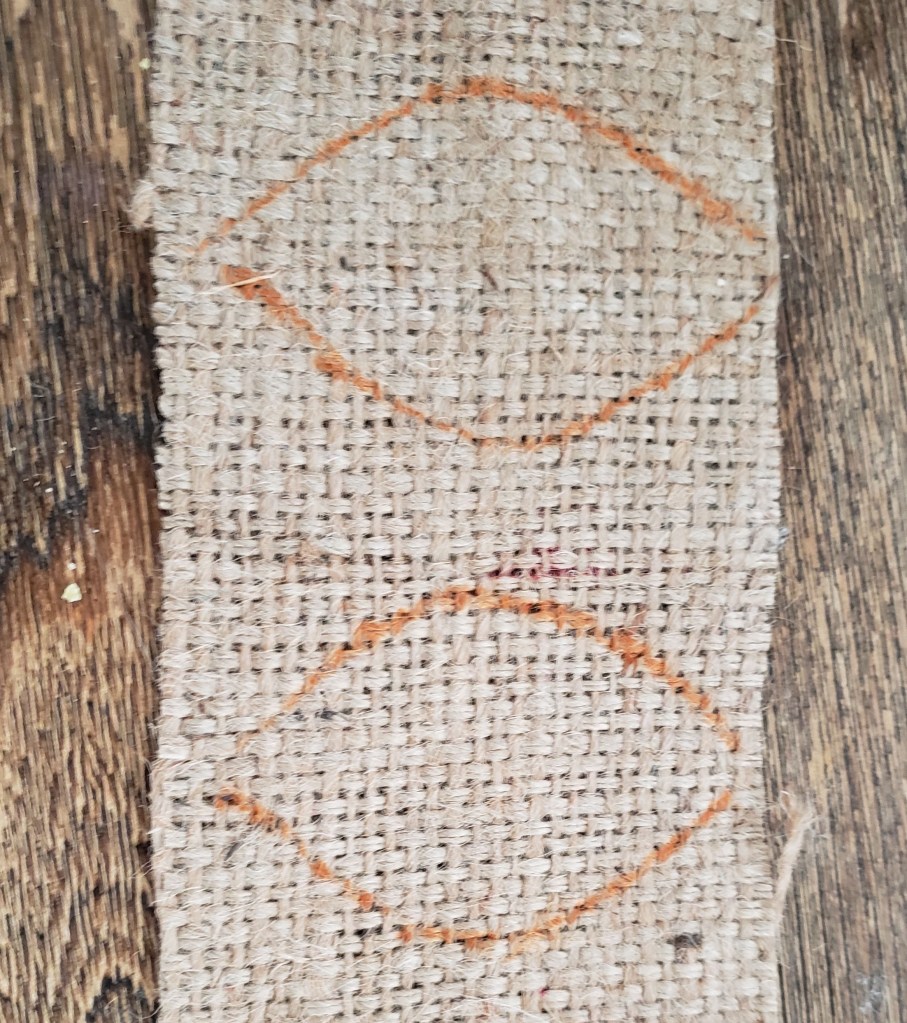
3.)Trace or pin the pattern to your burlap and cut out 6 of each petal size.
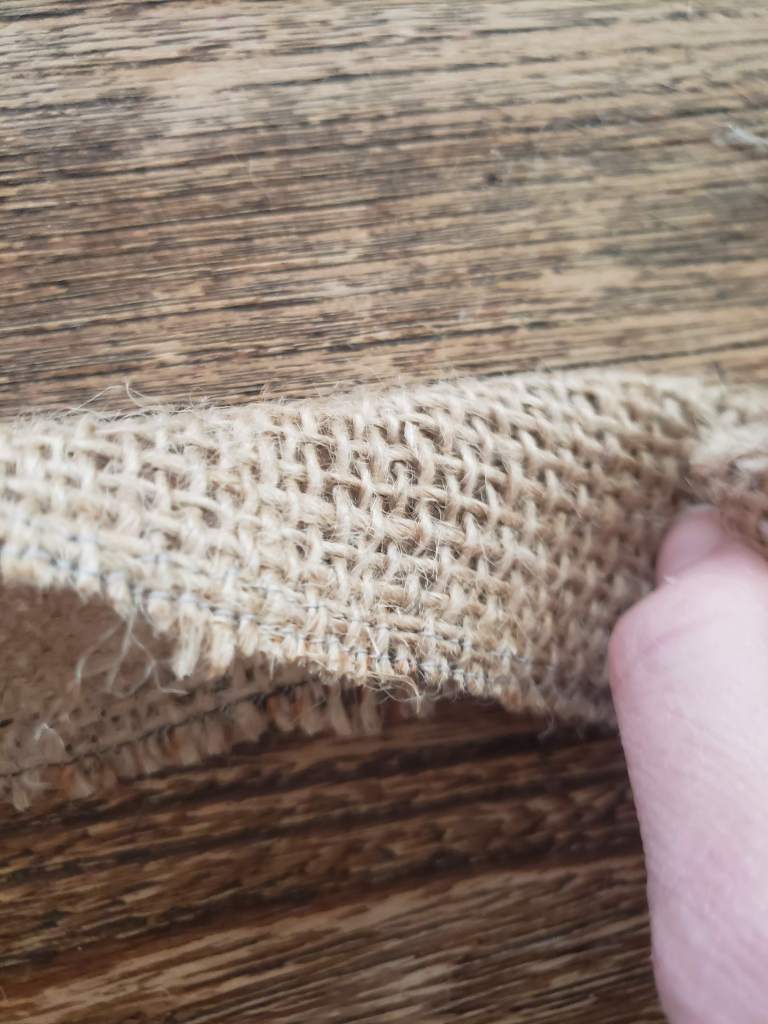
4.) If needed, coat the edges of your petals with hot glue to stop the burlap from shedding and or fraying.
5.) Arrange the large petals such that the points meet at the center of the felt circle, and glue them down.
6.) Arrange the smaller petals on top of the larger, such that they cover the open space left by the larger petals. Affix with glue.
7.) Decorate your flower. I used paint and some 3D beads for the center.
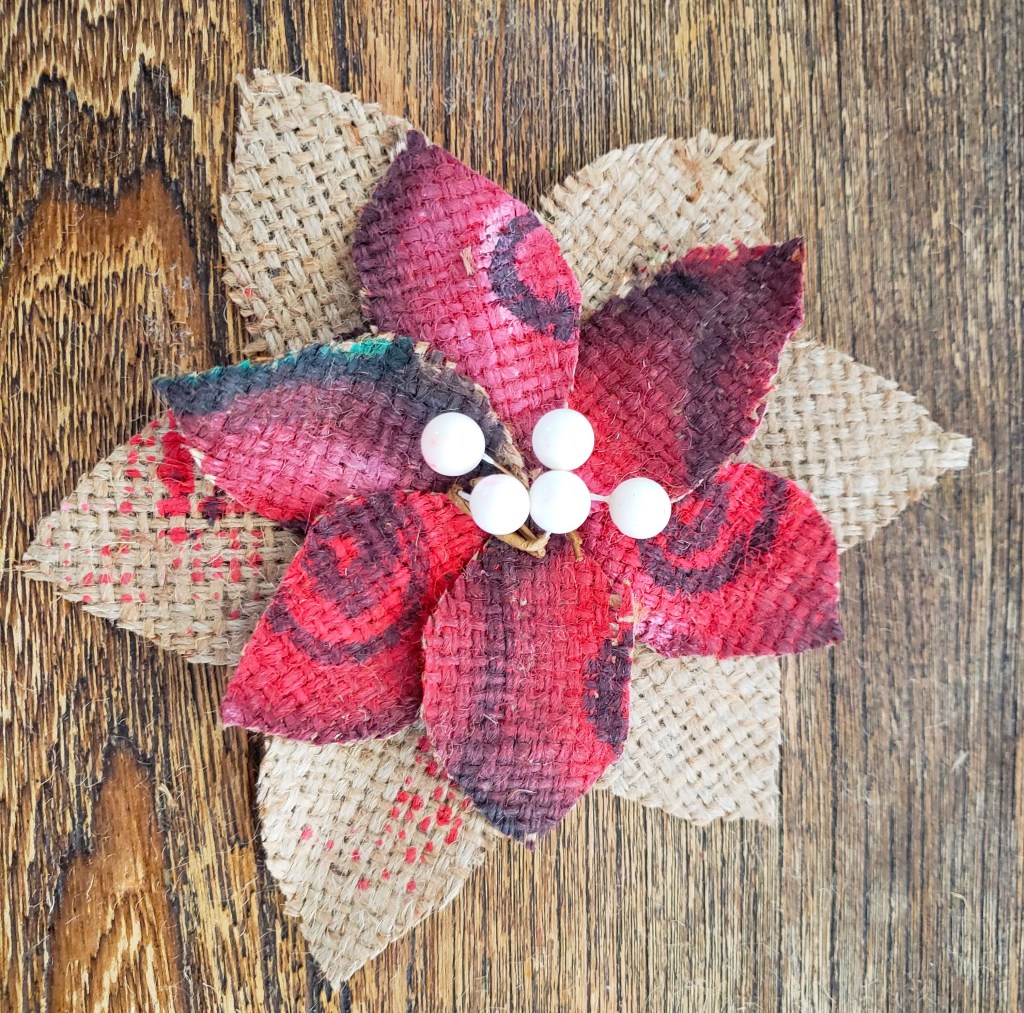
8.) Turn the edges of the small petals in and glue them together to create a lovely 3D effect. Use your flowers as beautiful gift wrapping decorations!
Create a burlap rose
Romantic, whimsical, and elegant – there is nothing like a single long stemmed rose. You can attach a pin to the back of the rose to make a broach, use multiples in varying colors to create a wreath, or as I have, design one long stemmed beauty!
What you will need
- Burlap
- Hot glue gun
- Fabric paint/fabric marker, or ornamental beads for decoration.
- If you are interested in making a long stem rose, as I have done here, you will need green pipe cleaners, or craft plant stems, and calyxes.
Instructions
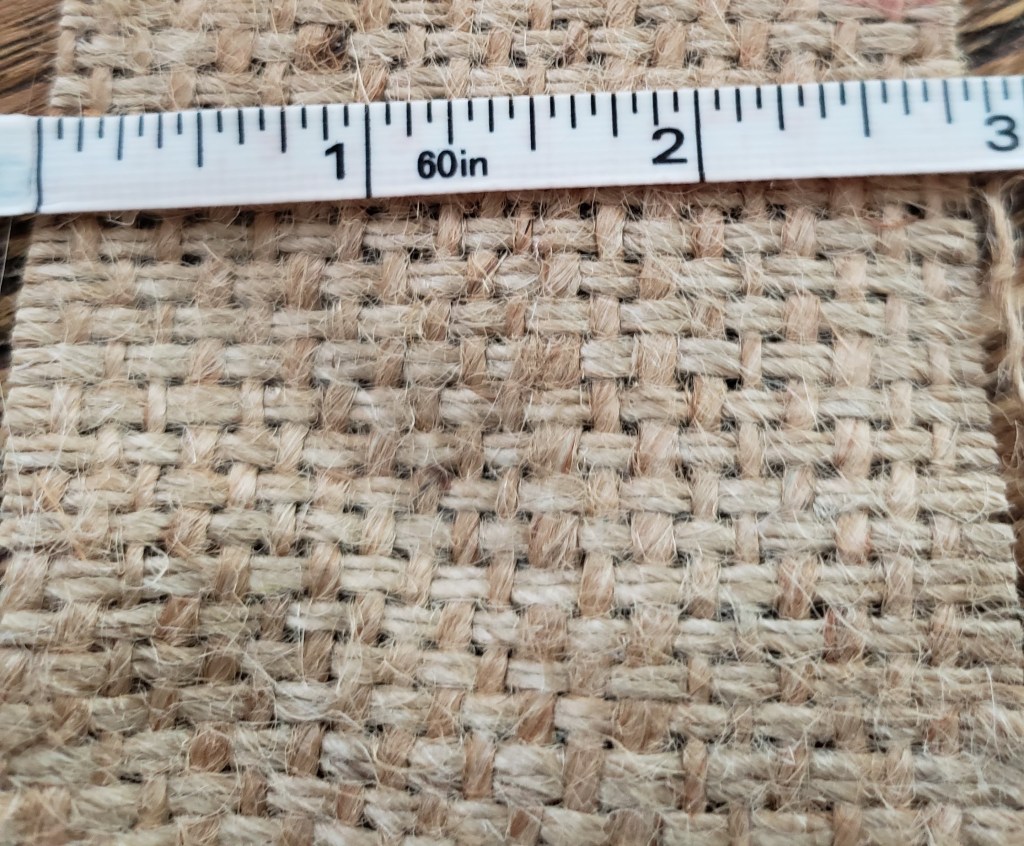
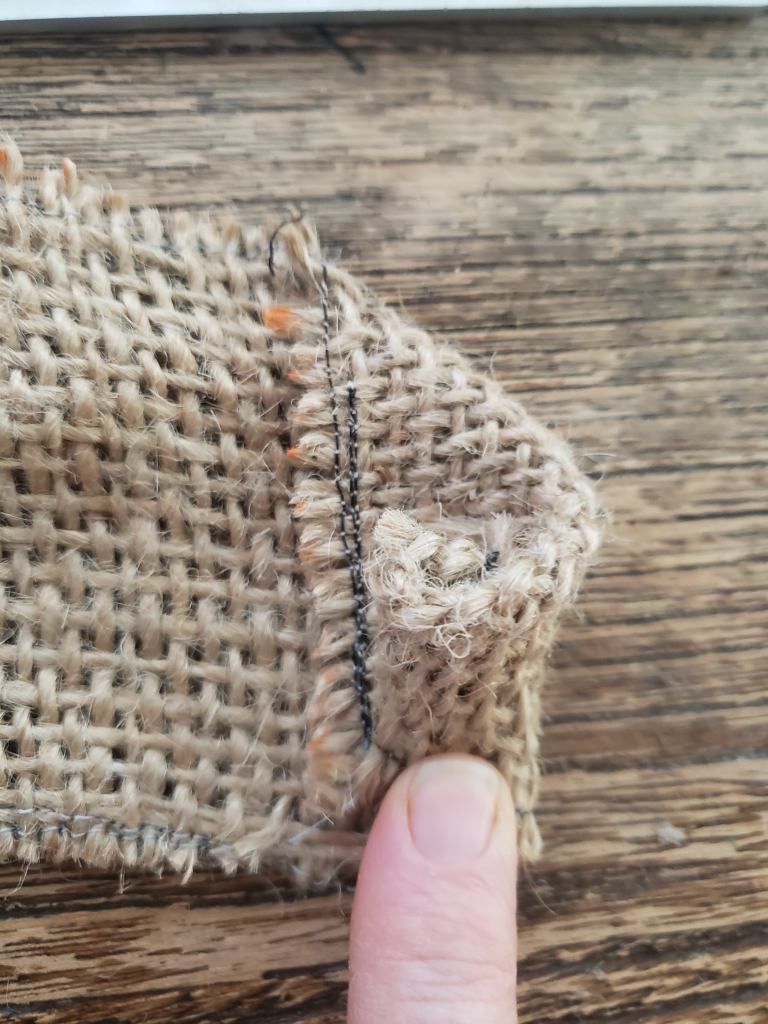
1.) Cut a burlap strip 2 – 3 inches wide by 36 inches long and sew a seam, or coat a line of hot glue along the edges to prevent fraying.
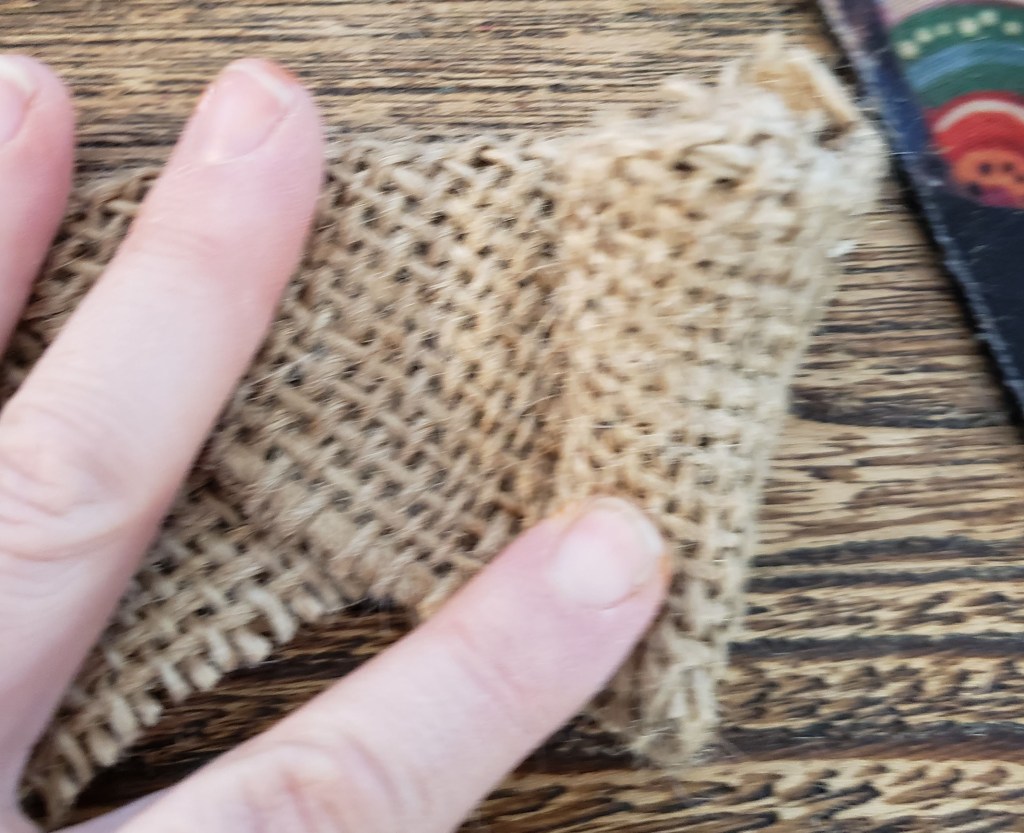
2.)With the burlap facing you, length out to the left, fold the corner edge of the strip towards yourself.
3.) Roll the burlap towards the left until you almost meet the folded portion.
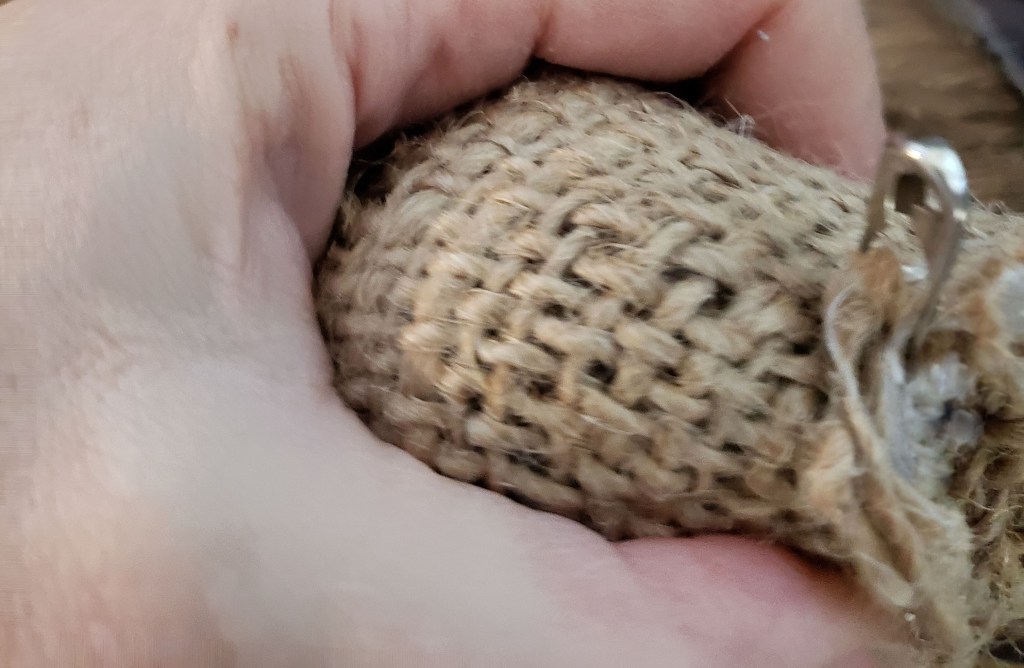
4.) Fold the strip under, towards your body, creating a new fold.
5.) Repeat steps 3 and 4 until you have covered the entire strip, tucking the edges underneath.
6.) Using a safety pin, bobby pins or even a straight pin secure the rose from underneath.
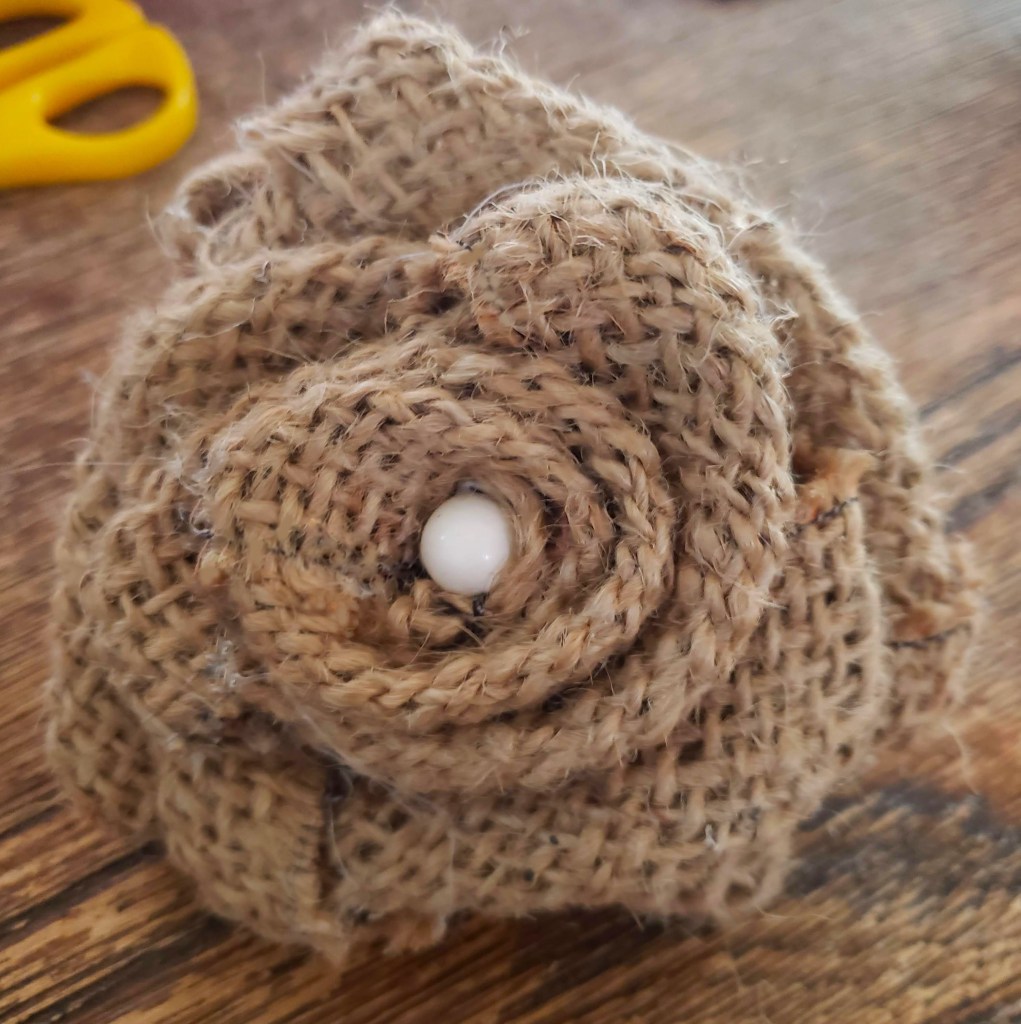
7.) Gently push back and separate the petals. Using your hot glue gun press them down. Decorate your rose. I chose to keep it simple just inserting a white bead in the center.
8.) If you want to create a long stem rose, you will need green pipe cleaners or craft plant stems and plant tape. You can even use a plastic calyx if available.
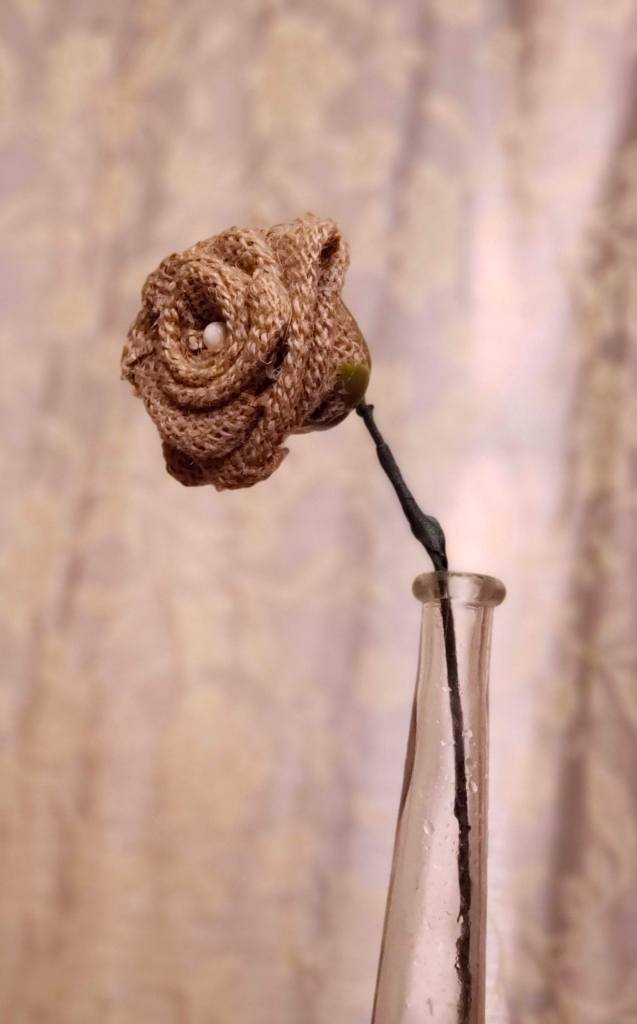
9.) Enjoy your lovely burlap rose!
For more ideas for up-cycling your burlap check out the following links.
Even more crafting with Burlap

You must be logged in to post a comment.