
At TheQueenBean we love to reuse and upcycle the burlap sacks that our coffee arrives in. From our packaging to the beautifully crafted tote bags available on our site, there is no end to the wonderful and innovative uses for burlap! Today, I am highlighting some easy projects that can be made with items that if you don’t already have, are easily found online or at your local craft store.
No-sew burlap napkin rings
What you will need:
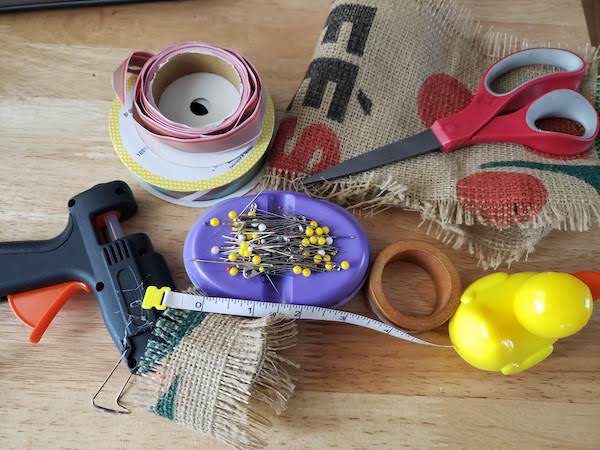
- Burlap strips cut to approximately 2 inches thick by 9 inches long
- Scissors
- Hot glue gun
- Pipe cleaners
- Cardboard
- Ribbon (optional)
Procedure:
1.) Lay out a piece of cardboard on your work surface to protect it from the hot glue.
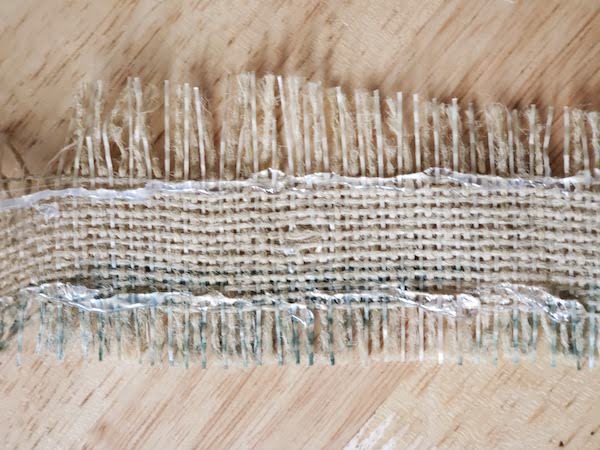
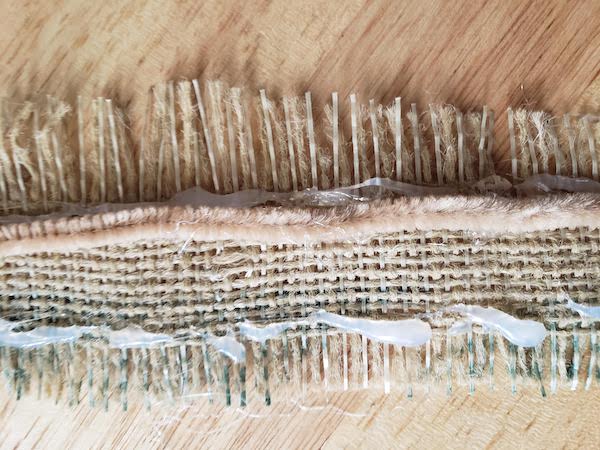
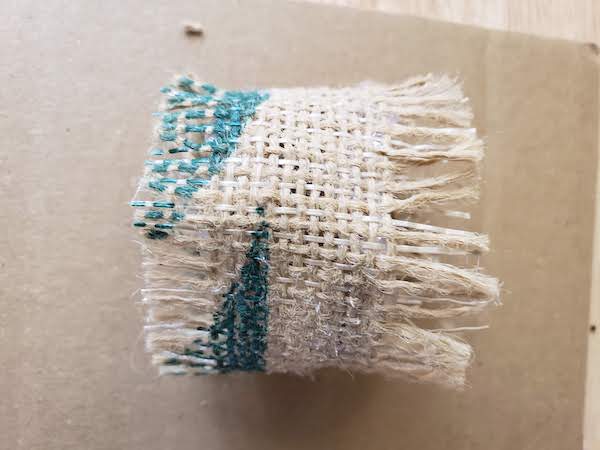
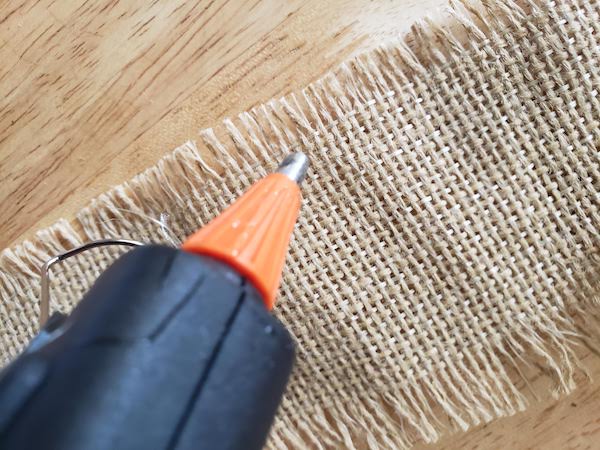
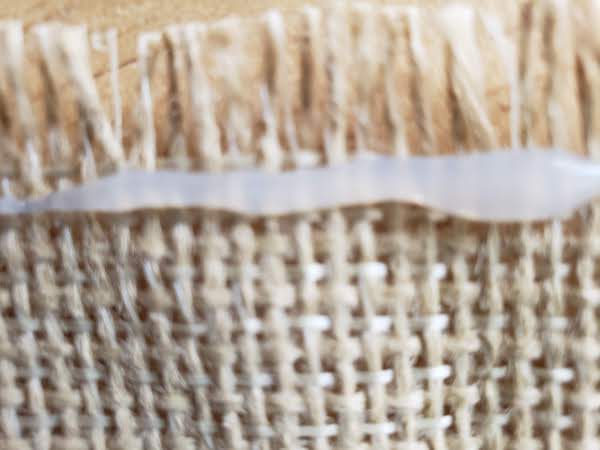
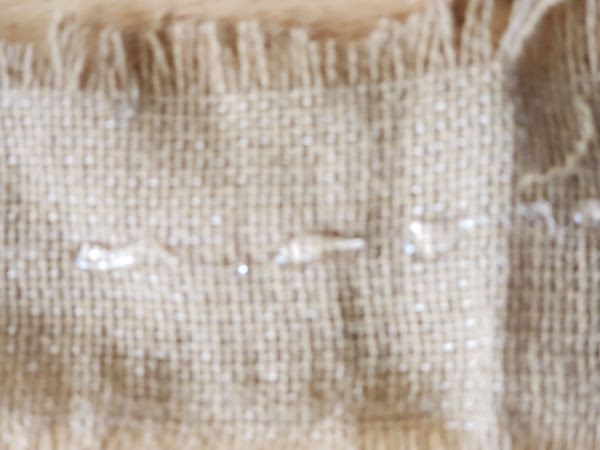
2.) For rings with a frayed edge, use a hot glue gun to coat the edges of the burlap, at the point where the frayed edge begins. This will stop it from fraying further (Figure 1.). If you prefer a straight edge, lay a line of hot glue along the length of the burlap, very close to the edge, and fold the burlap over to create a straight seam (Figure 2.). Allow this to dry for about a minute.
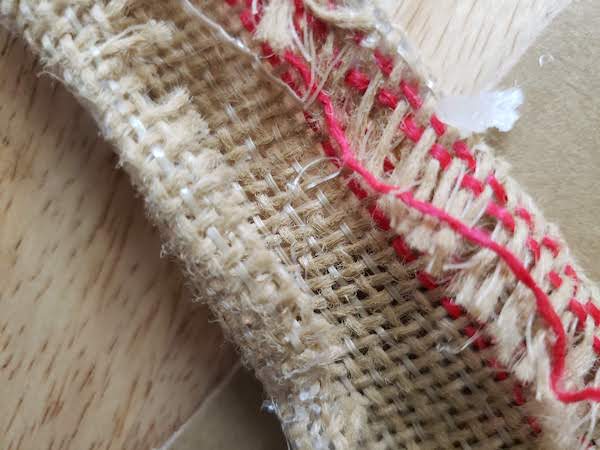
3.) Take 2 pipe cleaners and cut them to the length of your burlap strip. Using your hot glue gun, affix the pipe cleaners close to the edges of your burlap strips (Figure 3.). Allow this to dry for approximately one minute.
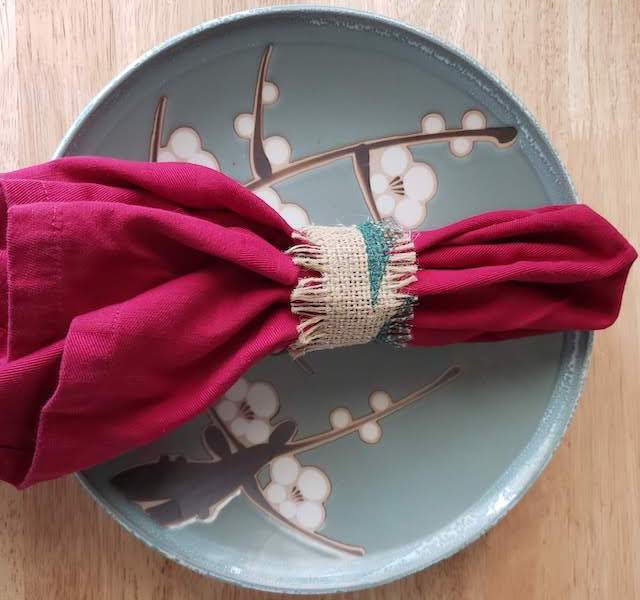
4.) Once dry, you can add an embellishment, such as a ribbon, to the front of the strip. Allow any glued item enough time to dry completely.
5.) Roll your burlap strip to the desired circumference for your napkin ring — 2 inches is a good diameter.
6.) Glue the ring together and allow it to dry.
6.) If you left a frayed edge, trim off any uneven bits.
8.) Repeat as many times as needed to create a matched set.
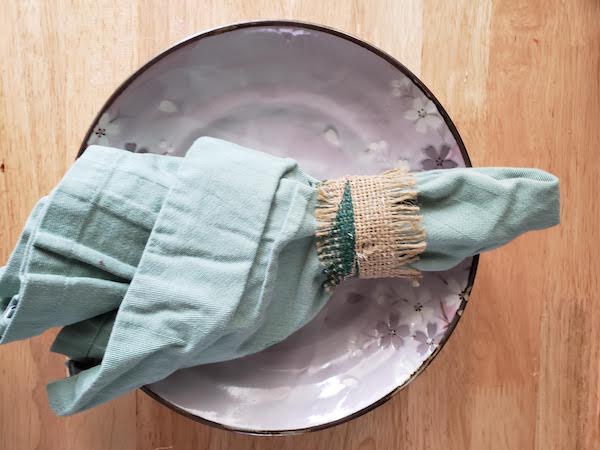
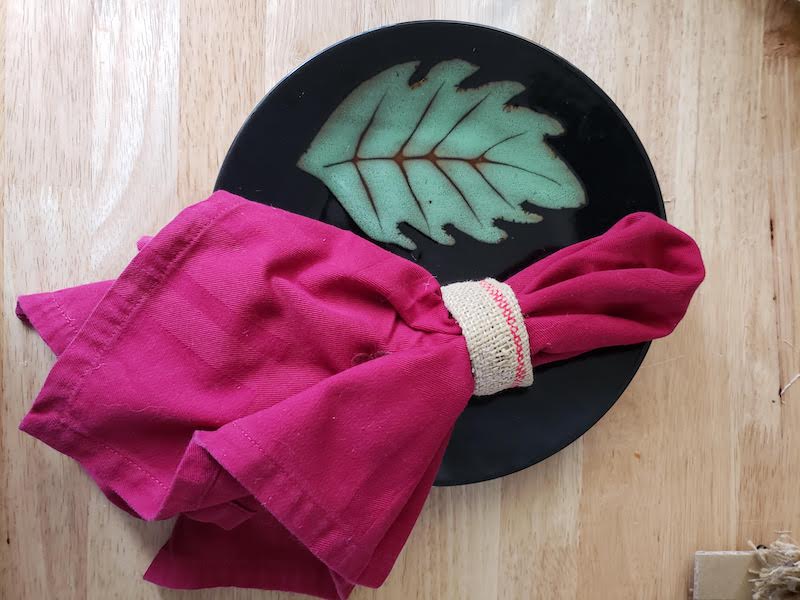
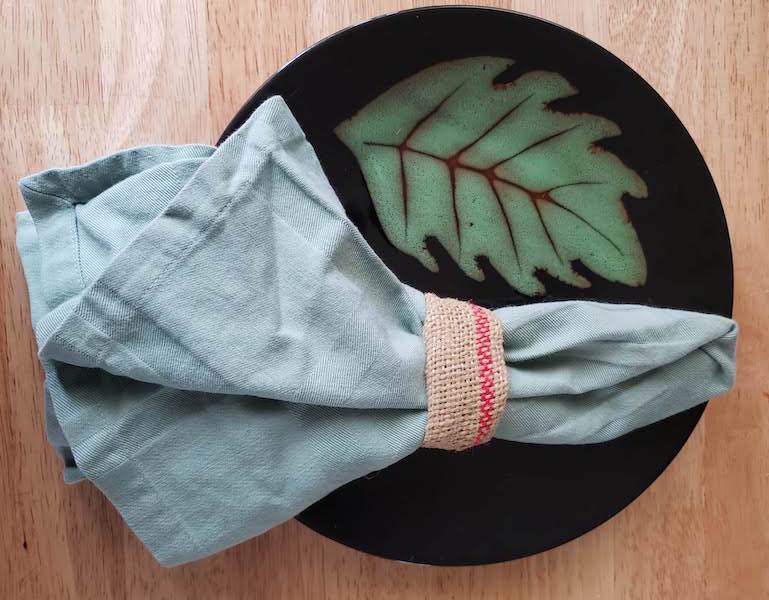
Napkin ring with smooth edges 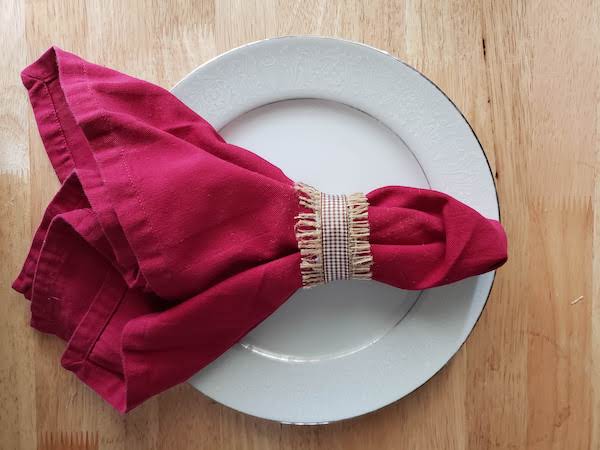
Napkin ring with ribbon embellishment
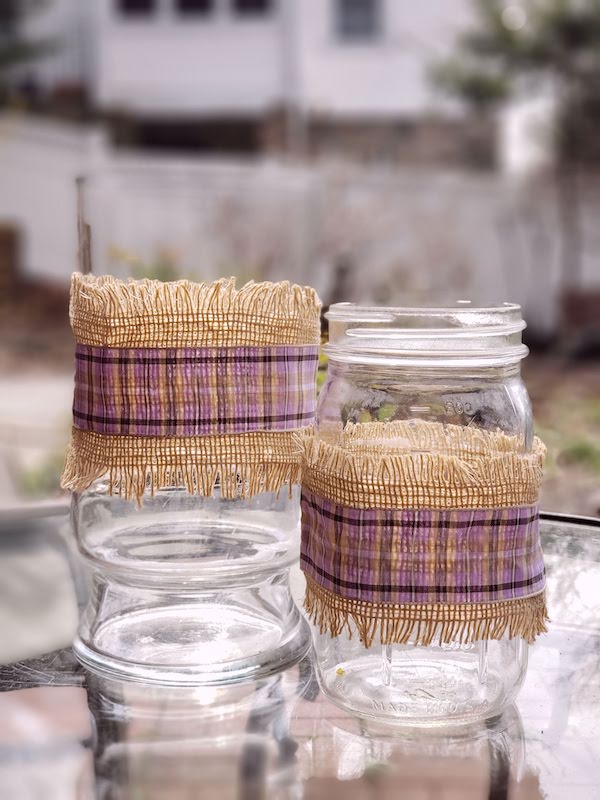
Burlap covered vase
What you will need:
- Vase, ball jar, or even a favorite shaped wine bottle
- Burlap
- Scissors
- Hot glue gun
- Ribbon, twine, lace, or other decorative elements
Procedure
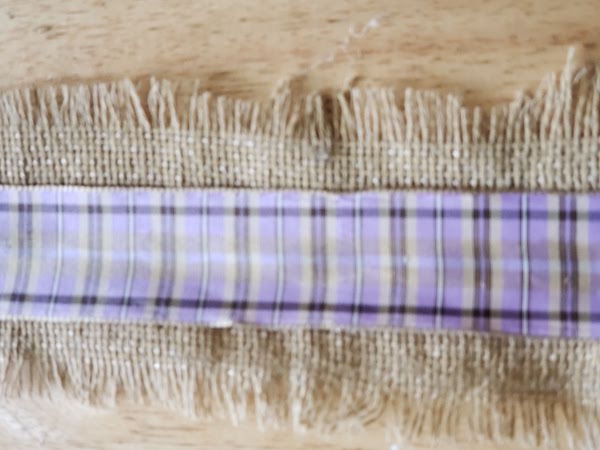
1.) Cut the burlap to the desired dimensions. If creating a border design, the burlap strip should be approximately 4 inches wide by 15 inches long.
2.) If you want an even edge, run a line of glue along the length of the burlap strip and fold the end over. Press firmly and allow to dry. If you want to retain a frayed edge, run a line of hot glue directly where the fray begins. This will stop it from unraveling further.
3.) Add your decoration of choice! For this design, I chose a gingham ribbon, but some lace or a bow would be equally as lovely. Center your ribbon on the burlap border and use a hot glue gun to affix it. Allow at least a minute for your design to dry. Check along the edges of your burlap and trim off any uneven bits.
4.) Tightly wrap the border around your jar or vase, and glue the edges together. A tight wrap will stop it from slipping.
5.) Repeat on as many jars / vases as you like for a matched set. This would make a lovely centerpiece, filled with flowers, for a shower, luncheon, or other event.
For more ideas on crafting with burlap, check out the following link:
https://www.diyncrafts.com/5636/decor/100-gorgeous-burlap-projects-will-beautify-life
