Here are instructions for even more fun and easy crafts you can make at home using our favorite, functional, and beautiful material — burlap. Enjoy!
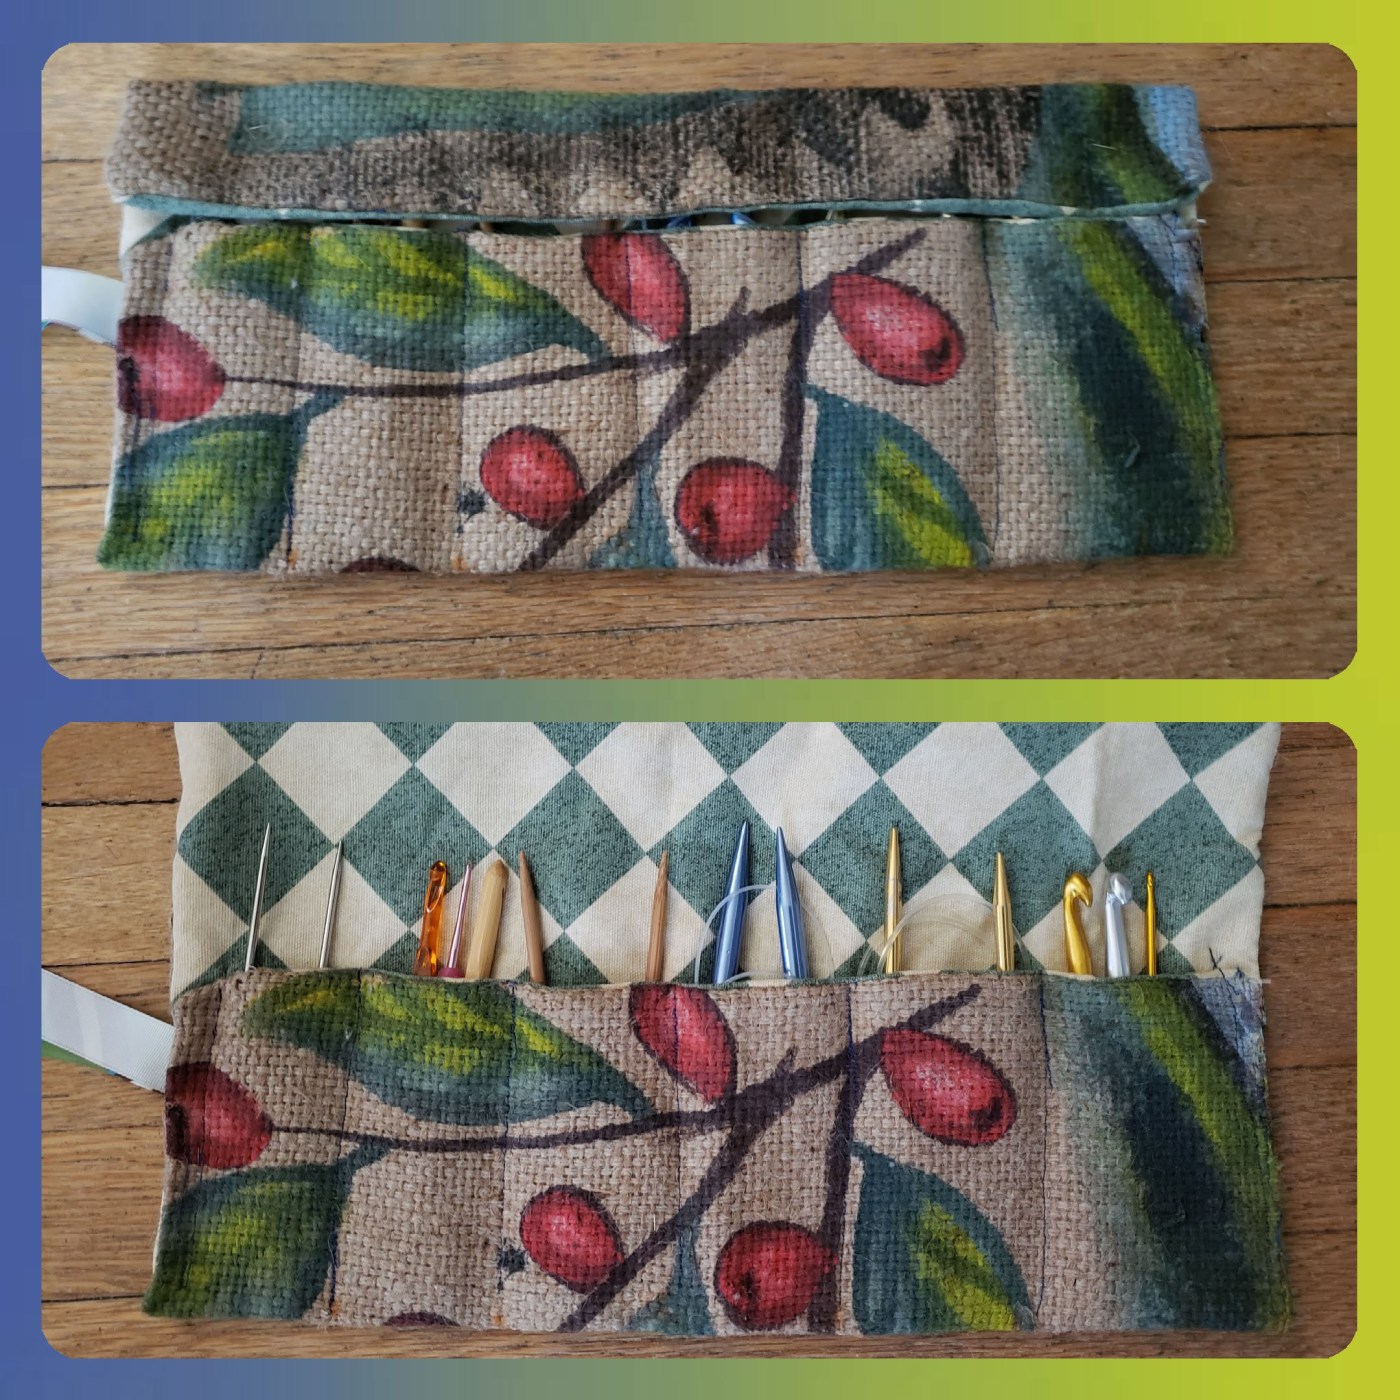
Knitting needle / paint brush / pencil case
What you will need:
- Burlap (for this design I used a beautiful, hand painted burlap sack from Nicaragua) and fabric, each cut to approximately 15 inches by 15 inches.
- Decorative ribbon approximately 40 inches long.
- Sewing machine.
Directions:
1.) Cut a piece of fabric and a piece of burlap into 15-inch squares.
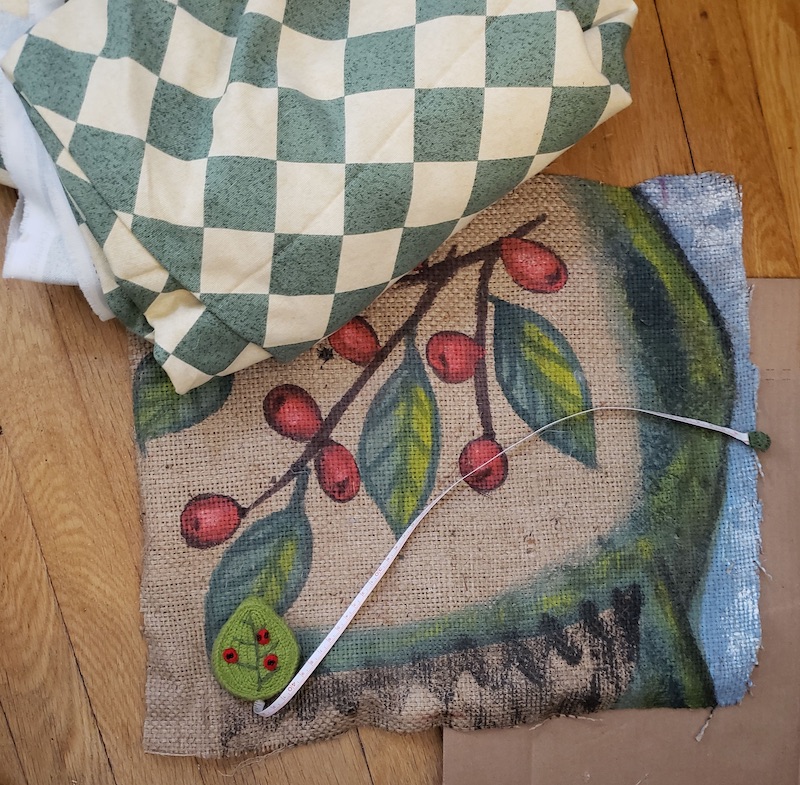
2.) Center the fabric and the burlap such that the design sides are facing each other. Pin them together. Sew seams along three sides of the pinned fabric. On the fourth side sew until you are approximately 3/4 of the way up the edge.
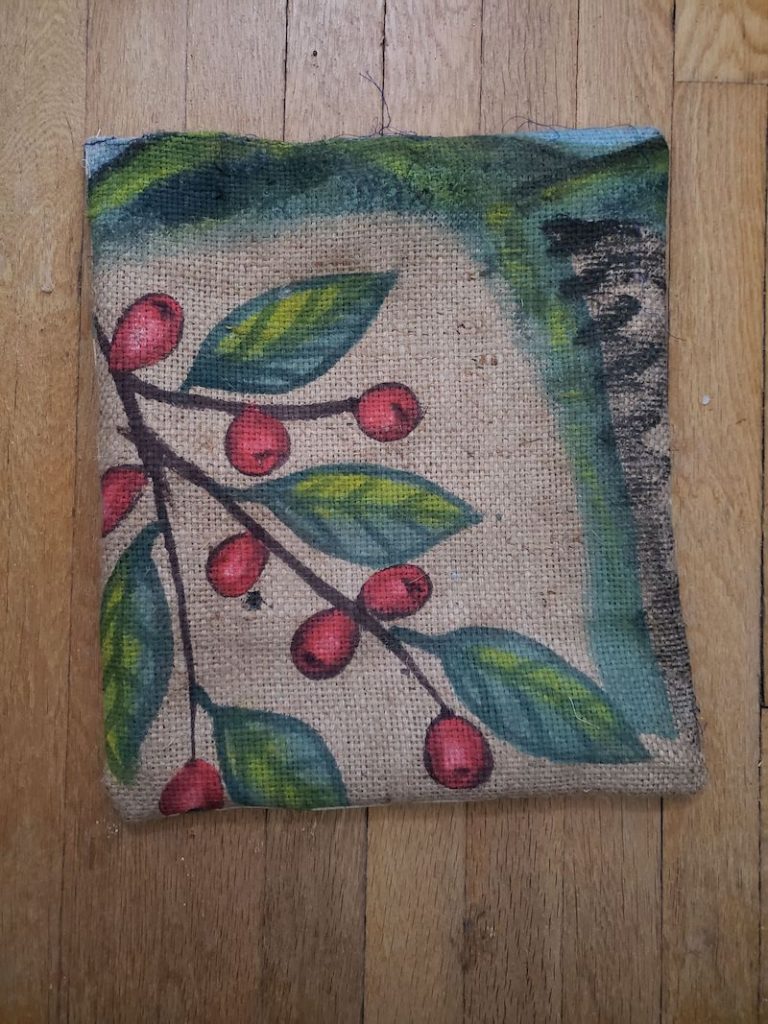
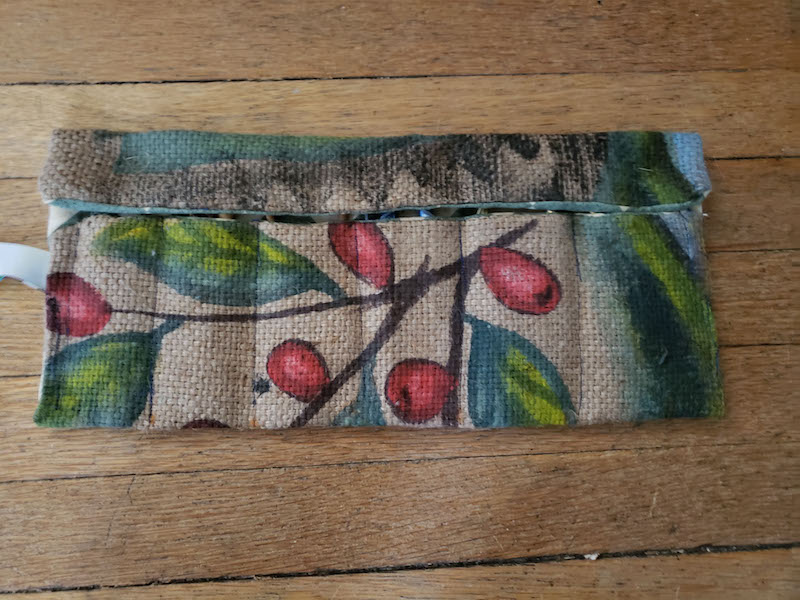
3.) Turn your fabric right side out by pushing the fabric through the open edge. Make sure you have straightened out all four corners. Fold the open edge into itself and complete the seam on your sewing machine. You now have a lined burlap square and you are ready to construct your needle case.
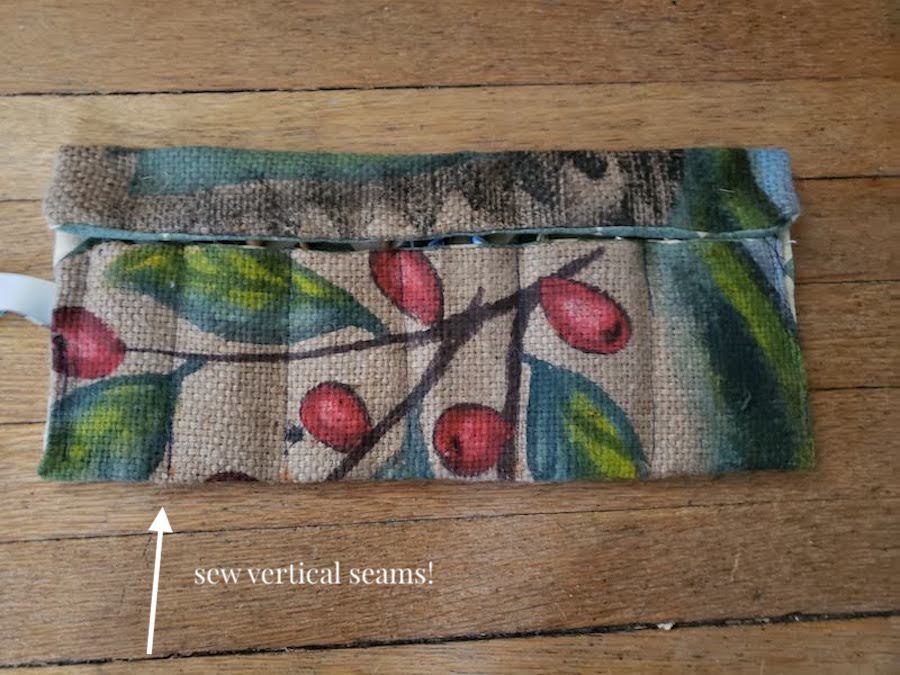
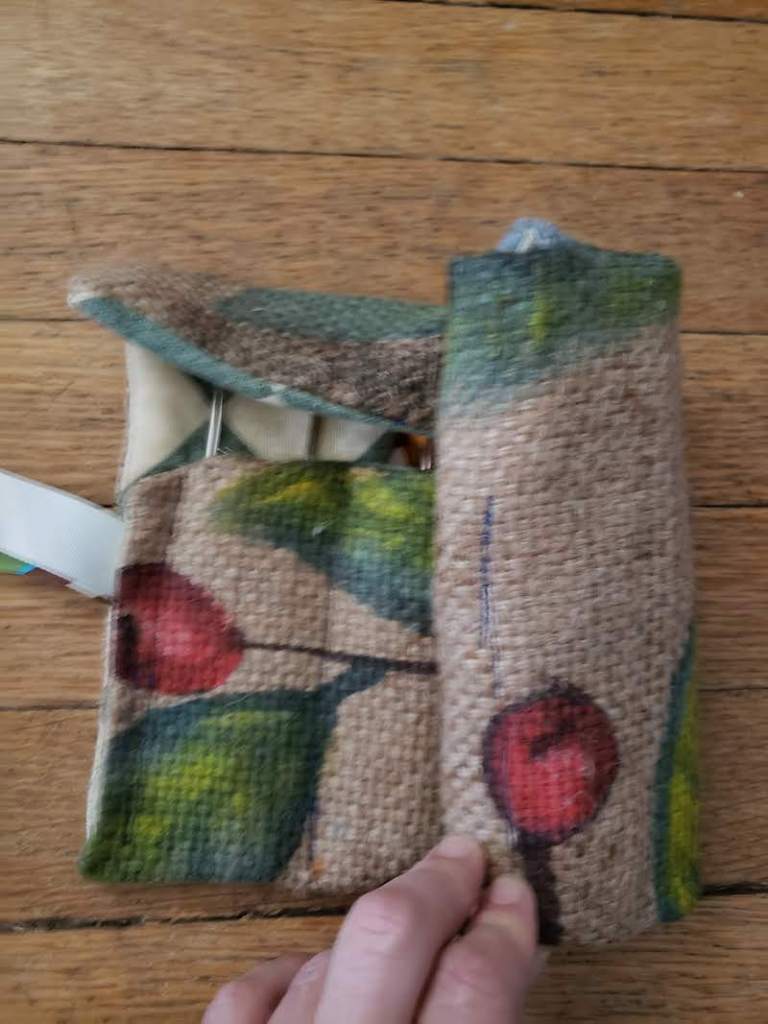
4.) Fold the bottom edge of the square up about 5 inches. Fold your ribbon in half and place it in between one side of the folded portion (see figure below), at the top of the fold. Pin the case into place. The ribbon should be folded in half with the pattern side on the inside. Sew the folded ends together on each side. You have created a large pocket for your needles to go into.

5.) Sew vertical seams approximately every 1 & 1/2 to 2 inches along the large pocket. This will create separate compartments.
6.) Take your sewn square to an aerated location and generously apply starch to the burlap sides. This should stop the burlap from future shedding.
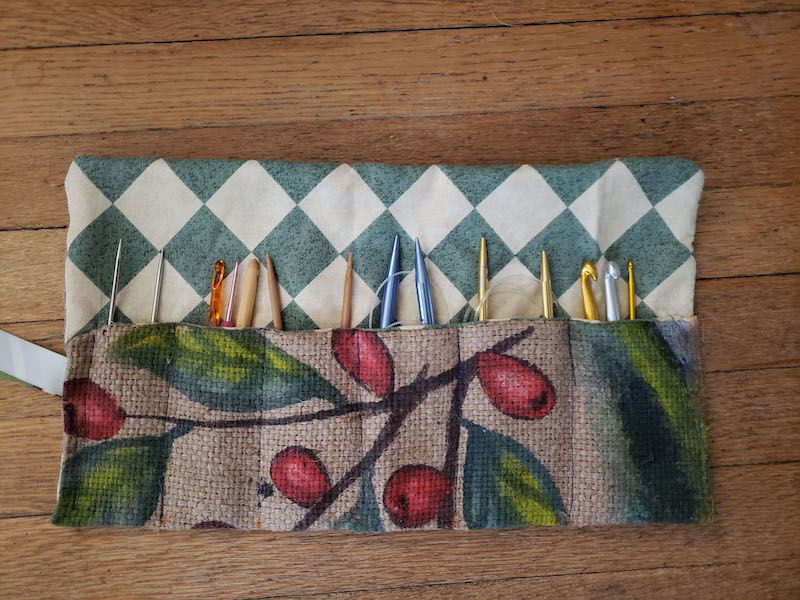
7.) Place your needles into the case and fold the top of the case over the needles. The fold should be long enough for the burlap sides meet each other.
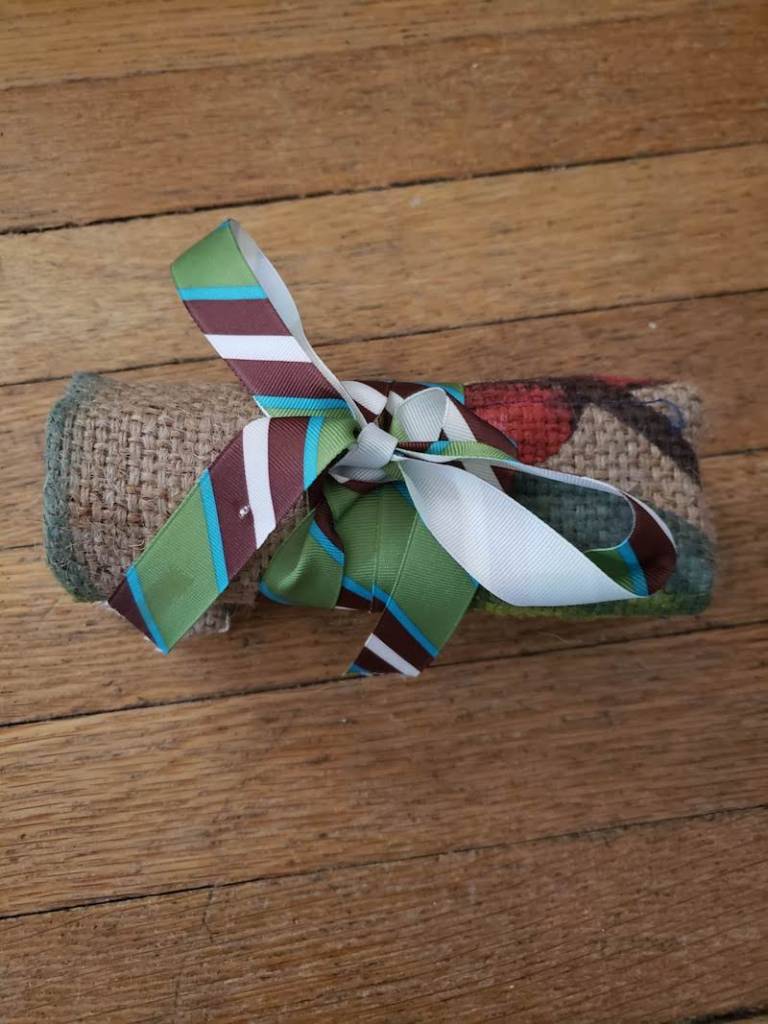
8.) Roll the case up starting from the edge without the ribbon. Secure your case with a bow.
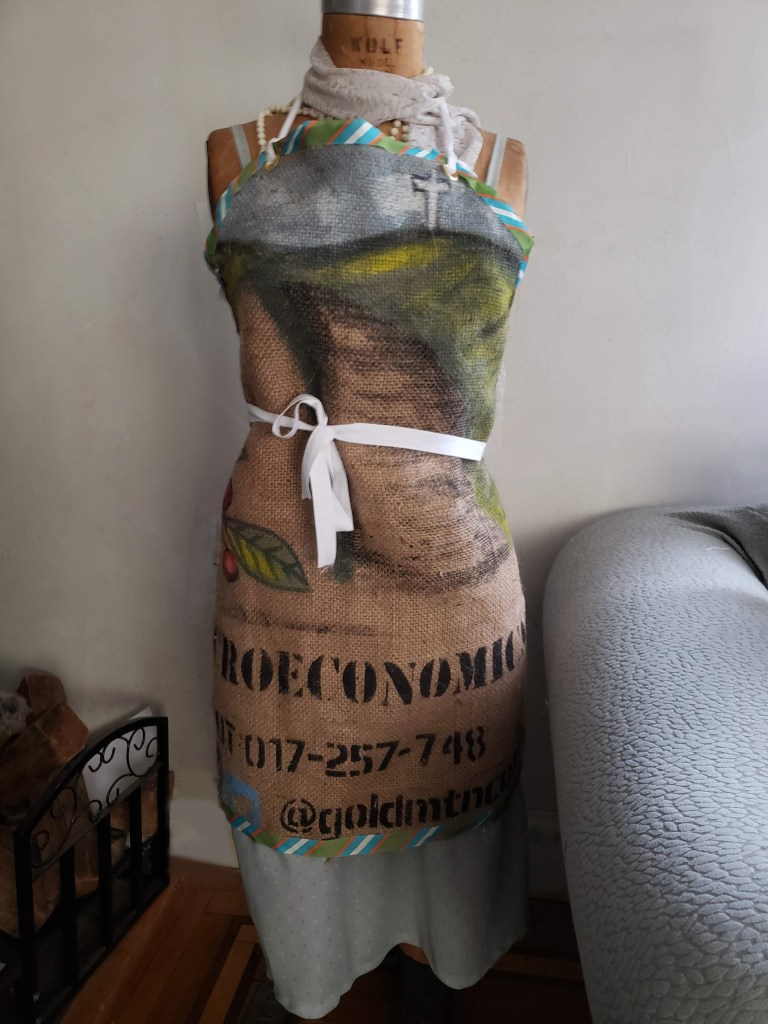
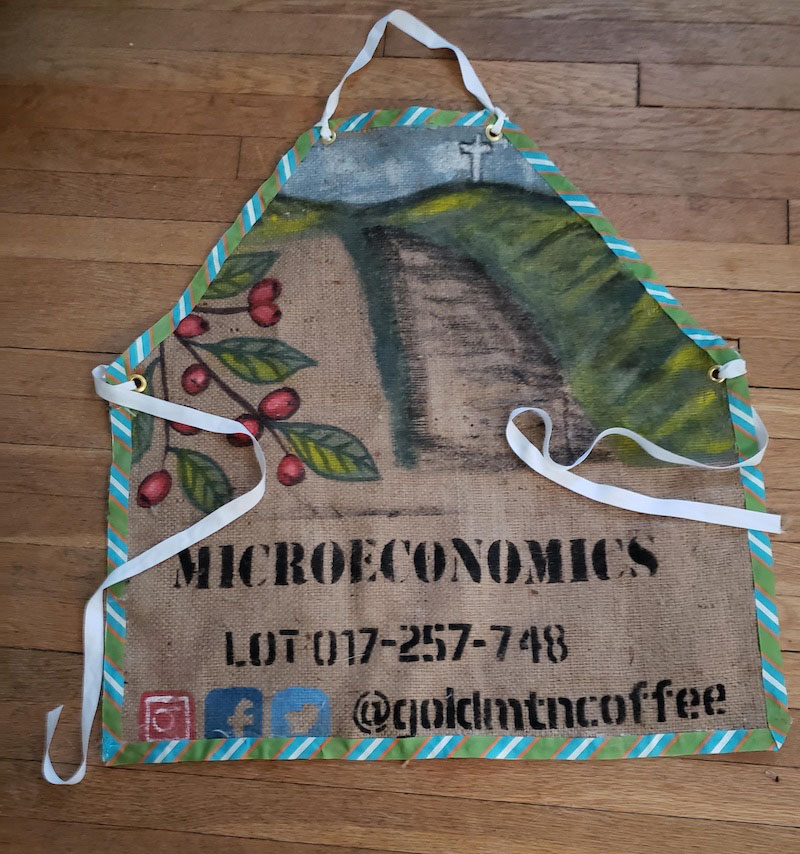
No sew apron
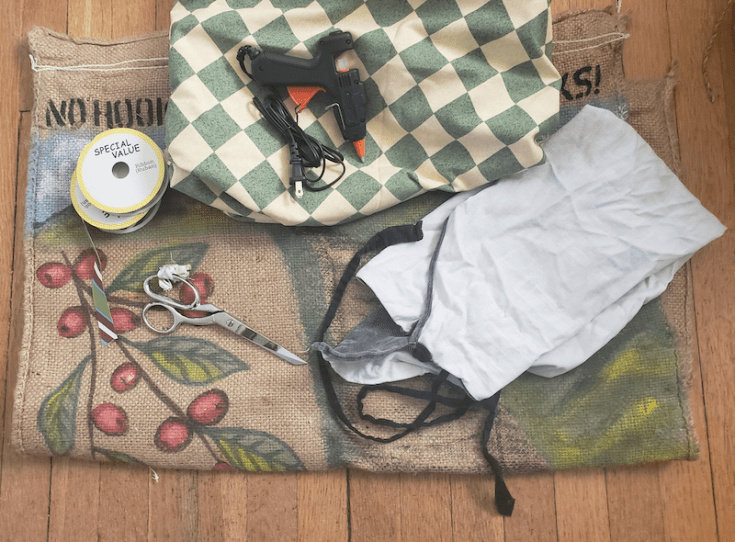
What you will need:
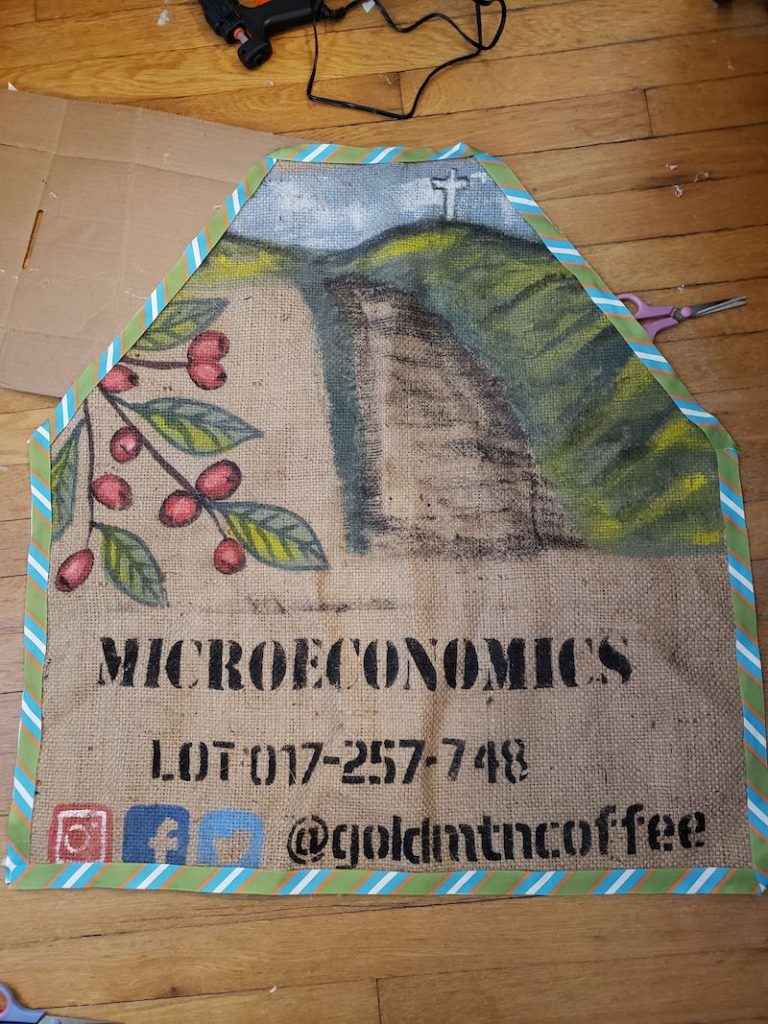
- Large sheet of burlap (for this design I used a beautiful, hand painted burlap sack from Nicaragua).
- About 9 yards of ribbon to trim the edges of the burlap.
- Grommets and a grommet puncher *.
- Hot glue gun.
- A favorite apron to use as a template.
- 3 – 36 inch pieces of fabric ribbon (to be used as apron ties).
Directions:
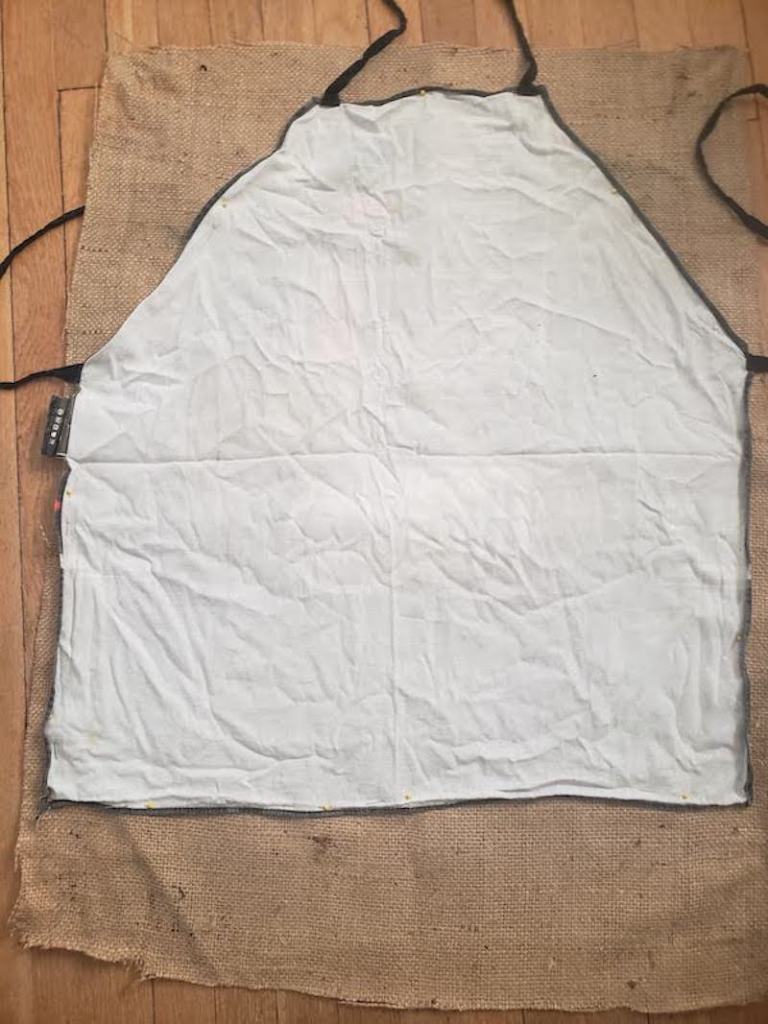
1.) Carefully pin the apron to the burlap and either trace around the body shape, or if you have a steady hand cut the burlap into shape directly from the pinned apron.
2.) Turn your burlap over (design side down) and place it onto your work surface. A large piece of cardboard is a good way to protect your worktable.

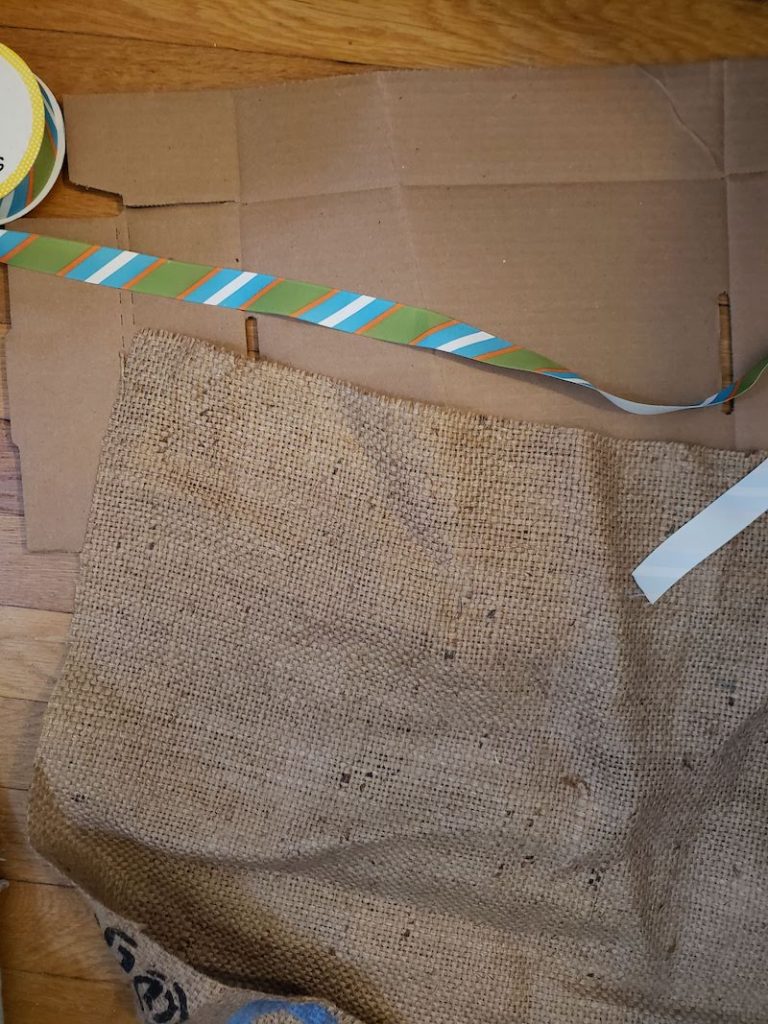
3.) Take your ribbon and carefully glue it along the edges of the apron body, leaving about half of it above the burlap edge. Continue until the entire outer edge of the apron is covered with ribbon.

4. Allow the glue to dry (a minute or so) and then flip the apron over.
5. Carefully line ribbon over the pre-glued ribbon, covering the edge of the burlap and the backside of the exposed ribbon. Glue the ribbon over the edge you previously lined, putting glue on both the burlap and the ribbon. If you miss a spot it is ok, we will go back over the entire apron once this dries.
6. Allow the glued ribbon to dry and then check the glued edges, adding any glue where it may be needed and folding over any parts of the backside of the ribbon that are exposed. If you use a solid color ribbon (as opposed to the pattern I used here) any exposed edges would be less noticeable.
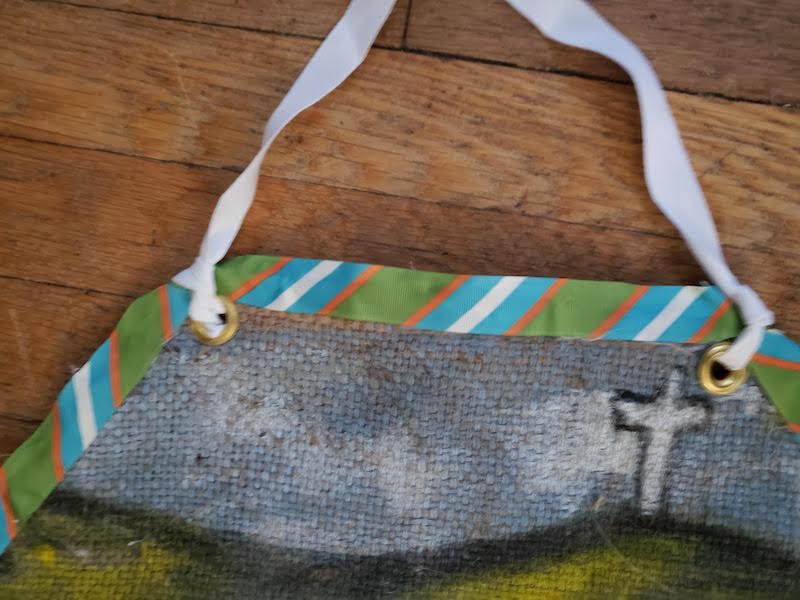
7. Take your grommets and apply 2 to the top corners of your apron. Cut a piece of ribbon long enough such that you will be able to put the apron on overhead. Tie each edge through the grommet holes.
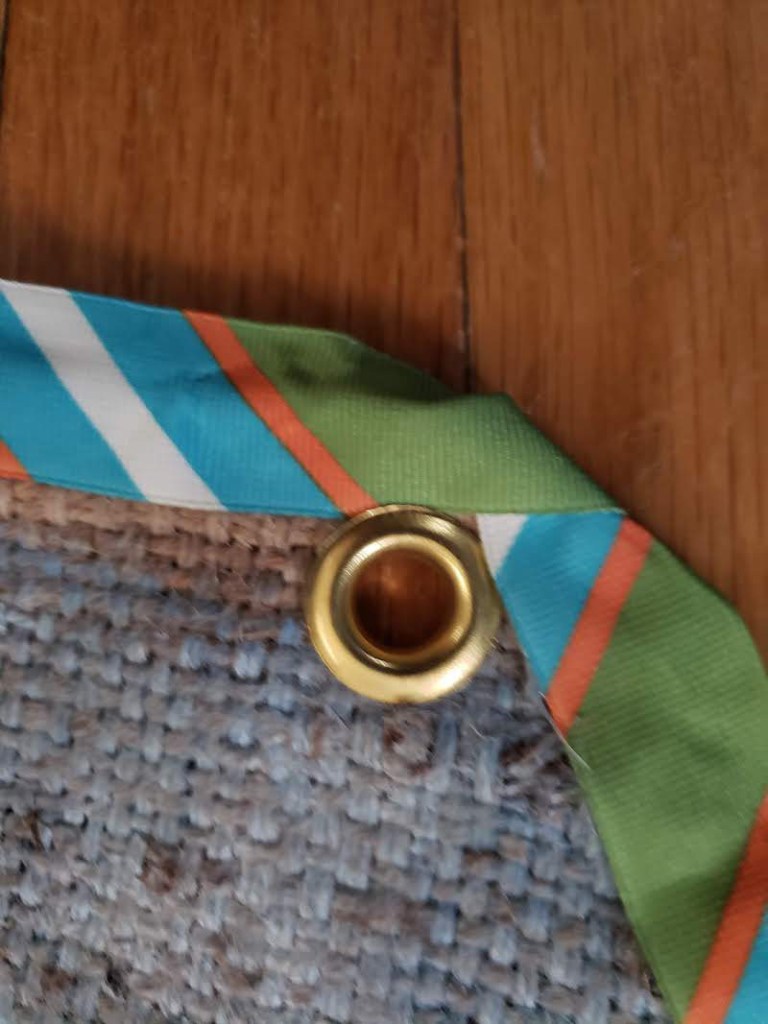
8.) Apply 2 more grommets to the sides of your apron and cut 2 pieces of ribbon long enough so that you can tie them together behind your back. Knot each ribbon through each grommet hole.
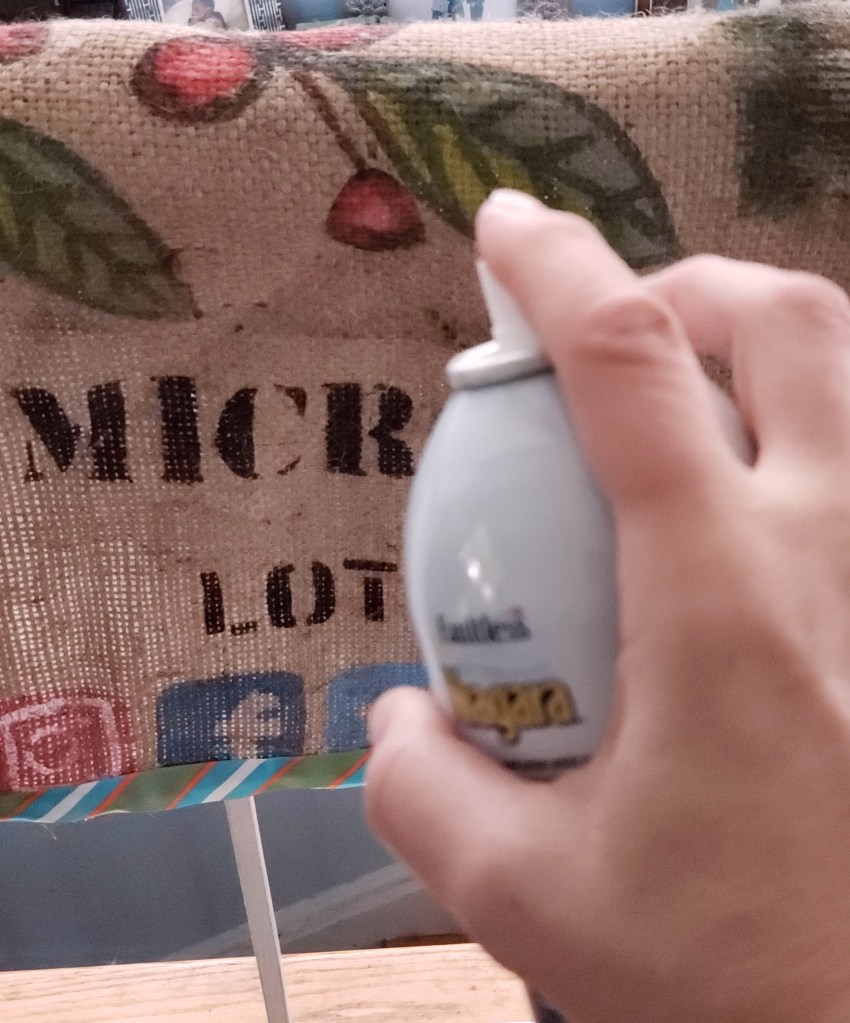
9.) Take your finished apron to an aerated location and generously spray starch over the burlap. I used at least 4 coatings. This should help stop your burlap from future shedding**.
10.) Enjoy your lovely no sew burlap apron!
*This is a no-sew construction. If you have a sewing machine, you could apply your apron ties by sewing the ribbons on in the same place where I have added grommets.
** There are a number of ways to try and prevent burlap from shedding. Feel free to try another solution. Starch has worked well for me with the one caveat being multiple applications.

OMG! This is amazing! I have a burlap sack and I am very tempted to make a new apron. Thank you so much for creating this post.
LikeLike
You are welcome! If you do make one please share how it turns out!
LikeLiked by 1 person